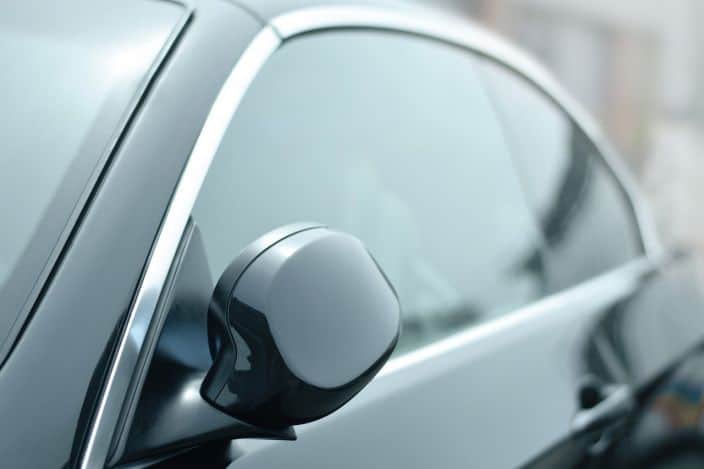
As per certain laws, your windows should allow at least 70% of light to pass through. Illegally tinted windows have been the reason behind a lot of road accidents. Moreover, cops won’t be able to see through the tint.
This is to ensure the safety of the drivers and discourage criminal activities. The windshield and front windows should definitely not be tinted at all. But, some cops might allow a bit of tint given they can see you through it.
If you have an illegal tint on your windows, the easiest way to pass the inspection is by getting the tint removed. However, if you want to get away with it, then you can have the windows removed until the inspection is finished.
Trick for How to Pass Inspection With Illegal Tint

If your vehicle’s windshield and the front windows don’t block 30% of the incoming light despite being tinted, then you might pass the inspection. Or maybe you’ll be charged with a small ticket only.
The most straightforward and easy way to pass inspection, in this case, is to get rid of the window tint. However, you can also get rid of the windows for the time being and after the inspection is done, reinstall them. It might seem a bit challenging but if you follow the steps right, you will be able to do it perfectly and also get away with tint on your car windows.
All you need for this procedure are a couple of tools and time (about 1 or 2 hours). So, let’s start with it:
Removing The Vehicle’s Windows
You can simply remove the car doors with tinted windows. Not an easy procedure and might even take you about an hour or more than that to remove them and another thirty minutes to put them back in.
Tools Required:
- Drive Ratchet (with extensions)
- Metric Sockets
- Pry Bar or Bladed Screwdriver
- Torx Driver
Step 1. Remove the two 6mm screws located at the bottom of the panel on the inner side of the door trim.
Step 2. Now, remove the cover located behind your car door’s handle. You can use a screwdriver flathead or a pocket knife for this. It has 2 tabs towards the bottom. Make sure you don’t lose these tabs as they’ll be needed again while reassembling the window.
Step 3. This cover will reveal two stainless steel fasteners that you need to remove.
Step 4. Once done, remove the control panel with the help of a screwdriver blade. This will have 3 tabs on its rear side. So, tilt it upwards and pull forwards to remove it.
Step 5. You will be able to see the wiring harnesses now. These need to be lifted and then, you should be able to disconnect the connectors from your panel. Press the releases and pull out the connectors.
Step 6. There will be a bolt visible now that you need to remove.
Step 7. Now, remove the speaker cover. Once done, you will be able to see the speaker that is held in place by 4 screws. Remove these screws and pull out your speaker. Set it aside.
Step 8. Remove the standoffs into which the screws are supposed to screw into. To do so, you just need to pull them out straight with a pair of needle noses.
Step 9. Now, pull the door and tap it from underneath. It will move a bit out up to around 1 or 2 inches.
Step 10. Pull the door away from the door skin for up to 6 inches. The top will now lean more than the bottom.
Step 11. Detach the inner door handle from the hind side. Take the harness for the window control panel. Getting the door handle out might be a bit hard. The whole thing will come out in a set as you keep tugging on it.
Step 12. Once done, place the door panel aside. After taking off the inner door panel, you can re-attach the control panel.
Step 13. Now, pull off the barrier slowly and try not to tear it off. Let it hang a little bit at the bottom but make sure it doesn’t get covered in dirt or mud.
Step 14. Finally, now we will take the window out. This is a difficult process indeed but doable. So, slide the window up until you see the window retention clips in the door opening.
Step 15. Loosen the tension fasteners from both the front and rear window retention clips. You can get this done with the help of a socket and quarter-inch drive. When they loosen up, wiggle out the window to free it. It should loosely sit on the window keepers now.
Step 16. You need to clear all the weather stripping from the window opening.
Step 17. Tape the edge of the window to protect it and make sure you don’t scratch off the tint.
Step 18. After you have slid the window up and out of the retention clips, start rotating them towards the front side to allow the big end to come out first. Be careful as you rotate since you can damage your window glass and tint in this step. Keep it away from those brackets and check how much of a clearance you have. Eventually, the window will come out and that’s it.

After the inspection is done, you’ll need to reassemble the entire thing. To do so, just follow the above steps backward.
Final Words
Not only do tinted windows look cool but also protect your window glasses. The right amount of tint blocks UV rays too without affecting visibility. However, the new inspecting testing standards state that your windows should allow at least 70% light to pass through. You simply cannot have dark tint on your windshield and front side windows if you want to pass the inspection.
The above article discusses a trick to pass through this rule and still have your tint intact. We hope the method helped you pass your car inspection.
