If you’re experiencing problems with your vehicle’s performance, it could be due to an issue with the electronic control unit (ECU). The ECU is responsible for controlling your car’s various systems, such as fuel injection and emission control, so it’s essential to ensure it functions correctly. The best way to diagnose problems with the ECU is to test it with a multimeter.

In this guide, I’ll walk you through the steps of how to test ECU with a multimeter. With my extensive experience in the automotive industry, I’ll cover everything, so you have the knowledge and confidence to diagnose and fix ECU issues on your own.
Table of Contents
How to Test ECU with a Multimeter
Testing an engine control unit with a multimeter can be tricky, but diagnosing and troubleshooting issues with your vehicle’s engine is necessary. Once you locate the ECU, you will be able to use the multimeter to test it and see if it’s working correctly.
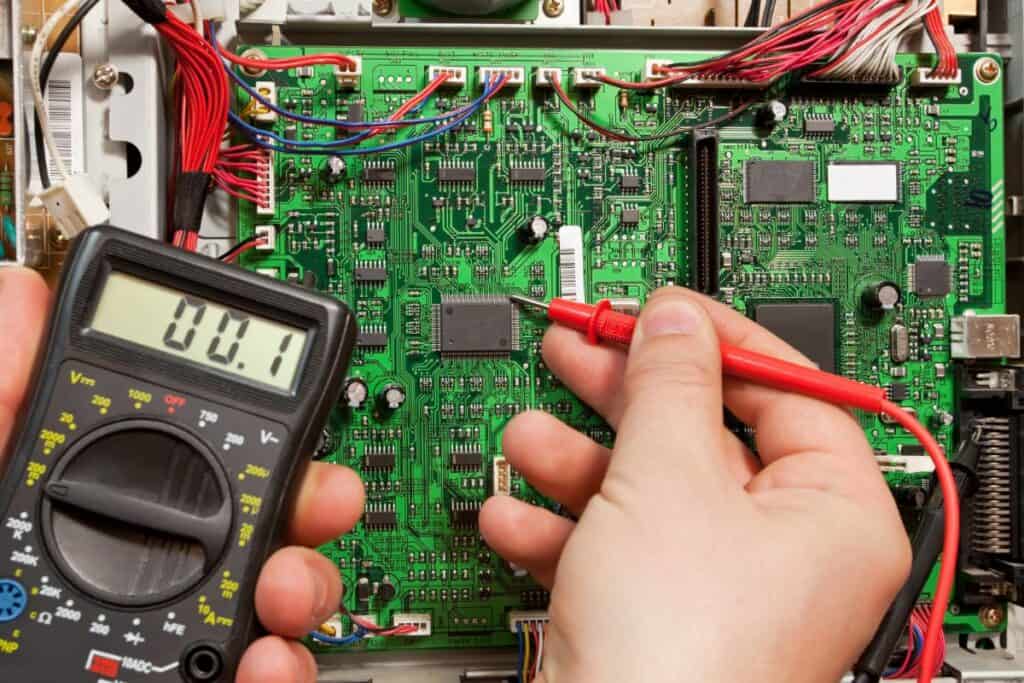
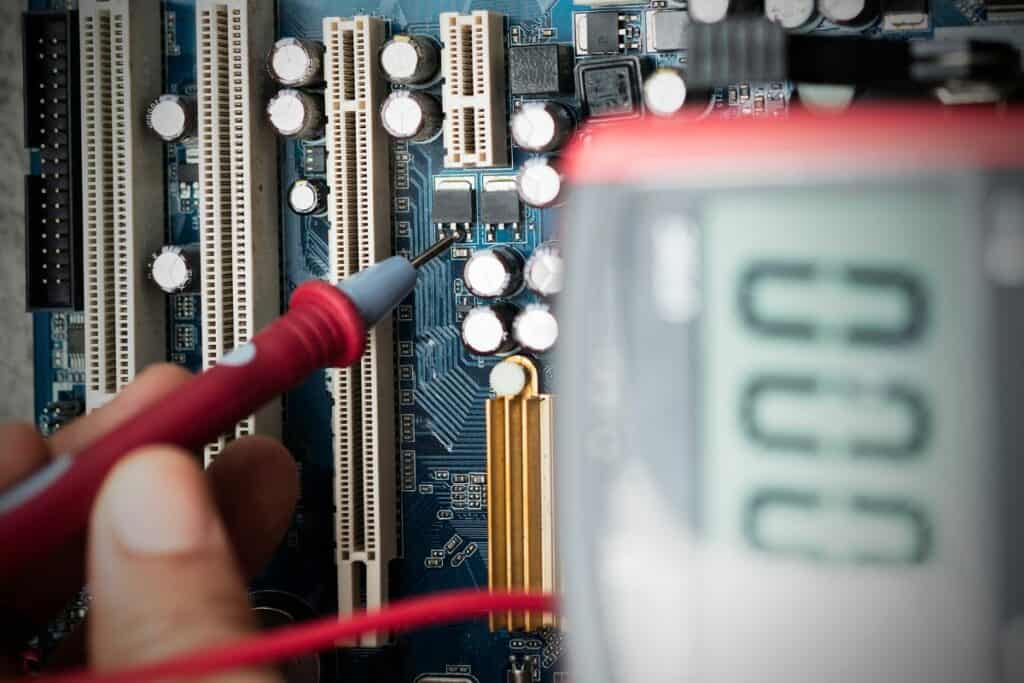
The first step in testing the ECU with a multimeter is to locate the ECU. It is typically found near the engine bay under the vehicle’s hood. Once you locate the ECU, you’ll need to connect the multimeter to the appropriate terminals on the ECU. From there, you can use the multimeter to measure the voltage and current flowing through the ECU; this can help you identify any issues or problems with the unit.
Testing ECU With a Multimeter – A Step-By-Step Guide
Testing your ECU with a multimeter is a crucial step in ensuring the proper functioning of your vehicle. The ECU controls various engine functions, such as fuel injection, ignition timing, and emission control. In this guide, I will walk you through the process of testing your ECU with a multimeter.
1. Set Up Your Multimeter
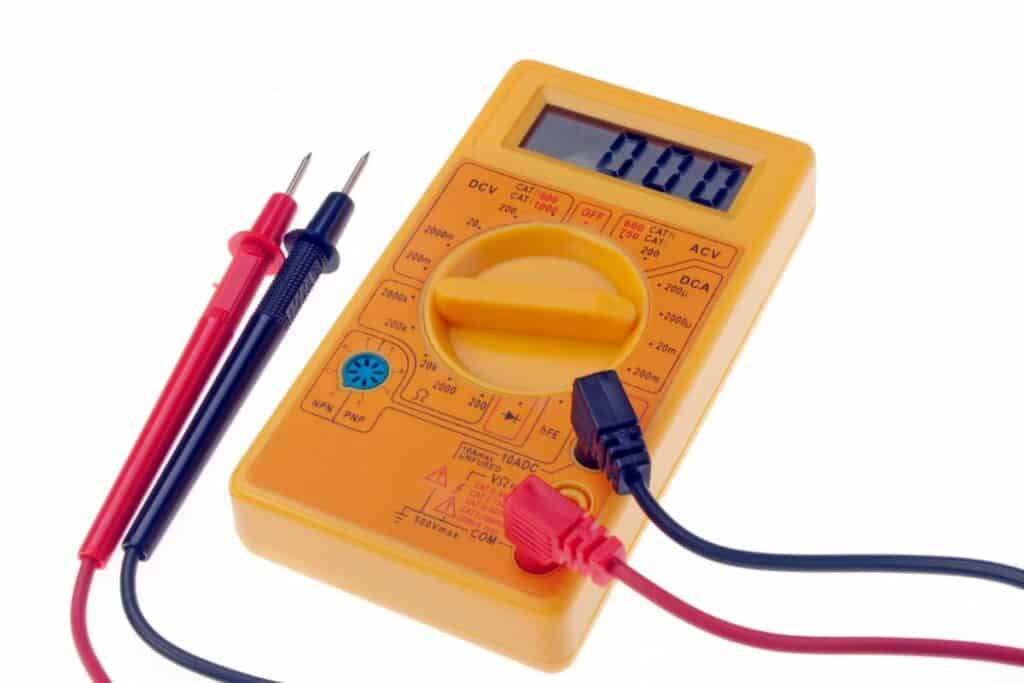
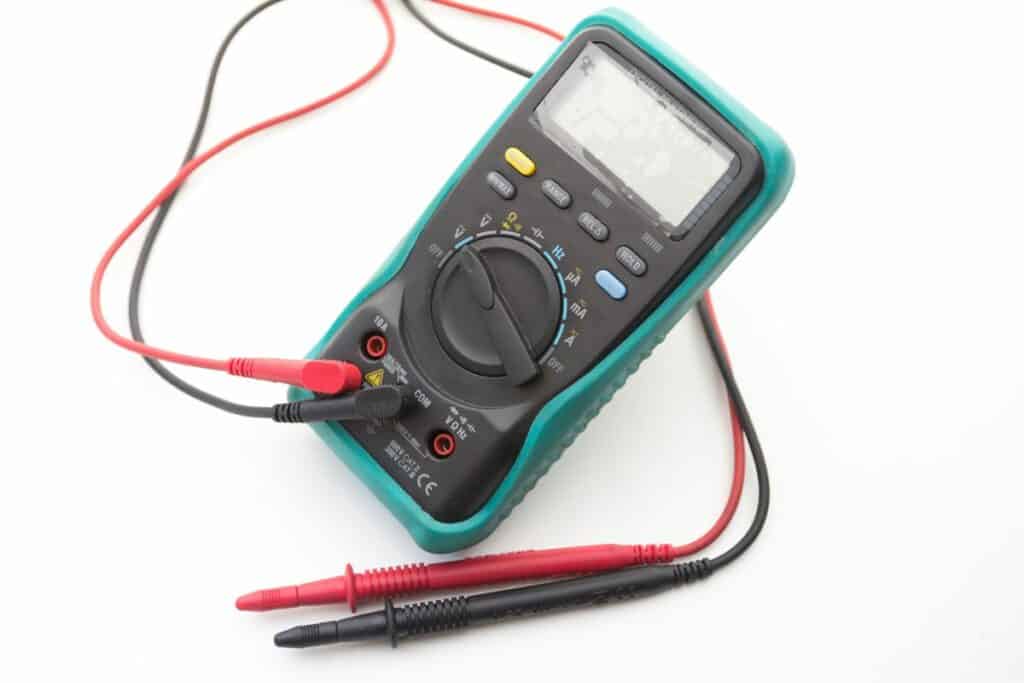
Before you begin testing your ECU, you must set up your multimeter. Ensure the multimeter is turned off and the battery is in good condition. Select the appropriate setting on the multimeter for measuring voltage, usually represented by the symbol V. Connect the leads of the multimeter to the appropriate terminals on the ECU.
2. Conduct a Visual Inspection
Before you begin testing, look closely at the ECU. Check for any visible signs of damage or wear, such as cracks, corrosion, or loose connections. If you notice any damage, replacing the ECU before proceeding with testing is best.
3. Start With the Simple Components

Begin by testing the simple components of the ECU, such as the voltage regulators and capacitors. These components are responsible for maintaining a stable voltage supply to the ECU. But how do you bench-test an ECU? Use the multimeter to measure the voltage across these components and compare the readings to the manufacturer’s specifications.
4. Check the Power Supply to the Components
Next, you must know how to check if ECU is getting power. Start by checking the power supply to the components of the ECU, such as the fuel injectors and ignition coils. Use the multimeter to measure the voltage across these components and compare the readings to the manufacturer’s specifications. If the readings are not within the specified range, it could indicate a problem with the power supply.
5. Turn On the Ignition
With the engine off, turn on the ignition and check for any changes in the readings. The ignition system should provide power to the ECU, and you should see a difference in the readings. If there is no change in the readings, it could indicate a problem with the ignition system.
6. Record the Reading
Record the readings for each component and compare them to the manufacturer’s specifications. Any readings outside the specified range could indicate a problem with the ECU or the element it controls. If you are unsure about the readings, it’s best to consult a professional mechanic for further diagnosis.
Testing your ECU with a multimeter is an essential step in ensuring the proper functioning of your vehicle. By following these steps, you can identify any potential problems with the ECU and take action needed to fix them. Always consult a professional mechanic if you need clarification on the readings.
Precautionary Methods When Testing ECU With Multimeter

A multimeter test of the ECU is fundamental to any engine trouble diagnosis. However, it is essential to take certain precautions to ensure your safety. Here are four steps you need to take before you begin testing the ECU with a multimeter.
1. Use the Correct Multimeter Settings
When testing the ECU, using the correct multimeter settings is crucial. This includes setting the multimeter to the proper voltage range and selecting the appropriate measurement mode (such as resistance or continuity). Using the wrong settings can lead to inaccurate readings, which can lead to incorrect conclusions about the ECU’s condition.
2. Wear Protective Equipment
Wearing protective equipment such as gloves and safety glasses is vital when working with electrical components. This will protect you from any electrical shocks or burns which can occur if the multimeter is misused.
3. Follow the Vehicle’s Service Manual
When testing the ECU, following the vehicle’s service manual is essential. This will provide detailed instructions on adequately testing the ECU, including which components should be tested and how to read the multimeter’s readings. Not following the service manual can lead to incorrect conclusions about the ECU’s condition.
4. Check for Ground Connections
When testing the ECU, it is important to check for ground connections. Checking the ECU ground means ensuring that the multimeter’s negative lead is connected to a good ground before conducting any tests. Failure to do so can lead to inaccurate readings and incorrect conclusions about the ECU’s condition.
Symptoms of a Bad ECU
As your vehicle’s central nervous system, the ECU plays a vital role in ensuring that it runs smoothly and efficiently. However, just like any other component, the ECU can experience problems and malfunctions. Here are some common symptoms of a bad ECU that you should be aware of:

- Engine stalls or fails to start: If your ECU is malfunctioning, it may prevent the engine from starting or cause it to stall while running.
- Check engine light: A bad ECU can cause the check engine light to come on, indicating a problem with the engine’s performance.
- Reduced engine power: A malfunctioning ECU can limit the engine’s power, making it feel sluggish or slow to respond.
- Poor fuel economy: A bad ECU can cause the engine to consume more fuel than it should, leading to poor fuel economy.
- Error codes: A malfunctioning ECU can generate error codes that can be read with a diagnostic scanner.
- Random misfires: A bad ECU can cause the engine to misfire, resulting in a rough idle or poor performance.
If you experience any of these symptoms, having your vehicle inspected by a professional mechanic to diagnose and repair any issues with the ECU is essential. Ignoring these can lead to further damage and costly repairs.
Check our article on What Does Check Engine Soon Mean by Arnold
FAQs
Here are the most frequently asked questions about ECUs:
How Do I Know If My ECU is Faulty?
If your vehicle is experiencing issues such as stalling, poor performance, or warning lights on the dashboard, it may be a sign that your ECU is faulty. It is best to have a mechanic or dealership diagnose the problem to confirm if the ECU is the cause and if it needs to be replaced.
What Causes ECU to Fail?
Various factors, such as water damage, electrical issues, and software problems, can cause ECU failure. It can also occur due to wear and tear or as a result of a malfunctioning component in the vehicle.
Conclusion:
Testing an ECU with a multimeter is a straightforward process that saves you time and money. By following the steps I outlined in this article, you can quickly diagnose any issues with your ECU and get your vehicle back on the road in no time. It’s important to remember to always consult your vehicle’s manual before starting any repairs and to use caution when working with electrical components. With the proper knowledge, you can become a pro at troubleshooting your ECU and keep your vehicle running smoothly.
